&Notepad
Rapid Prototyping of Interactive Data Science Workflows in Jupyter
For the past year, I’ve been working on a research project to analyze American TV news using modern computer vision techniques at scale (on the order of 100,000 hours of video, see: Processing Terabytes of Video on Hundreds of Machines). The work isn’t published yet (more on that later!), but I now have a wealth of experience in building infrastructure to enable our tiny rag-tag team of academics to deal with all the issues of data science, machine learning, computer vision, distributed systems, and human-computer interfaces that accompany these sorts of endeavors. In this note, I want to discuss one particular design process that’s emerged for us which I haven’t seen elsewhere: prototyping UIs in Jupyter, specifically in the data science context.
Labeling faces
Let’s jump right into a motivating example. As a part of our video study, we needed to find individuals (hosts, politicians, celebrities) in our dataset. For this, we used neural networks to locate and identify the faces of people in our videos, producing a database of 60 million detected faces (thus far). Running deep learning tools on video at scale was a logistical nightmare in of itself—see our upcoming SIGGRAPH paper on the system we built for large-scale video analysis (another multi-year effort).
Once we had the the predicted bounding boxes/face embeddings, the next step is to just look at the data and see if it makes sense. Normally this is done with some combination of OpenCV and Jupyter, but we did this kind of visualization so often that we built a web UI instead.
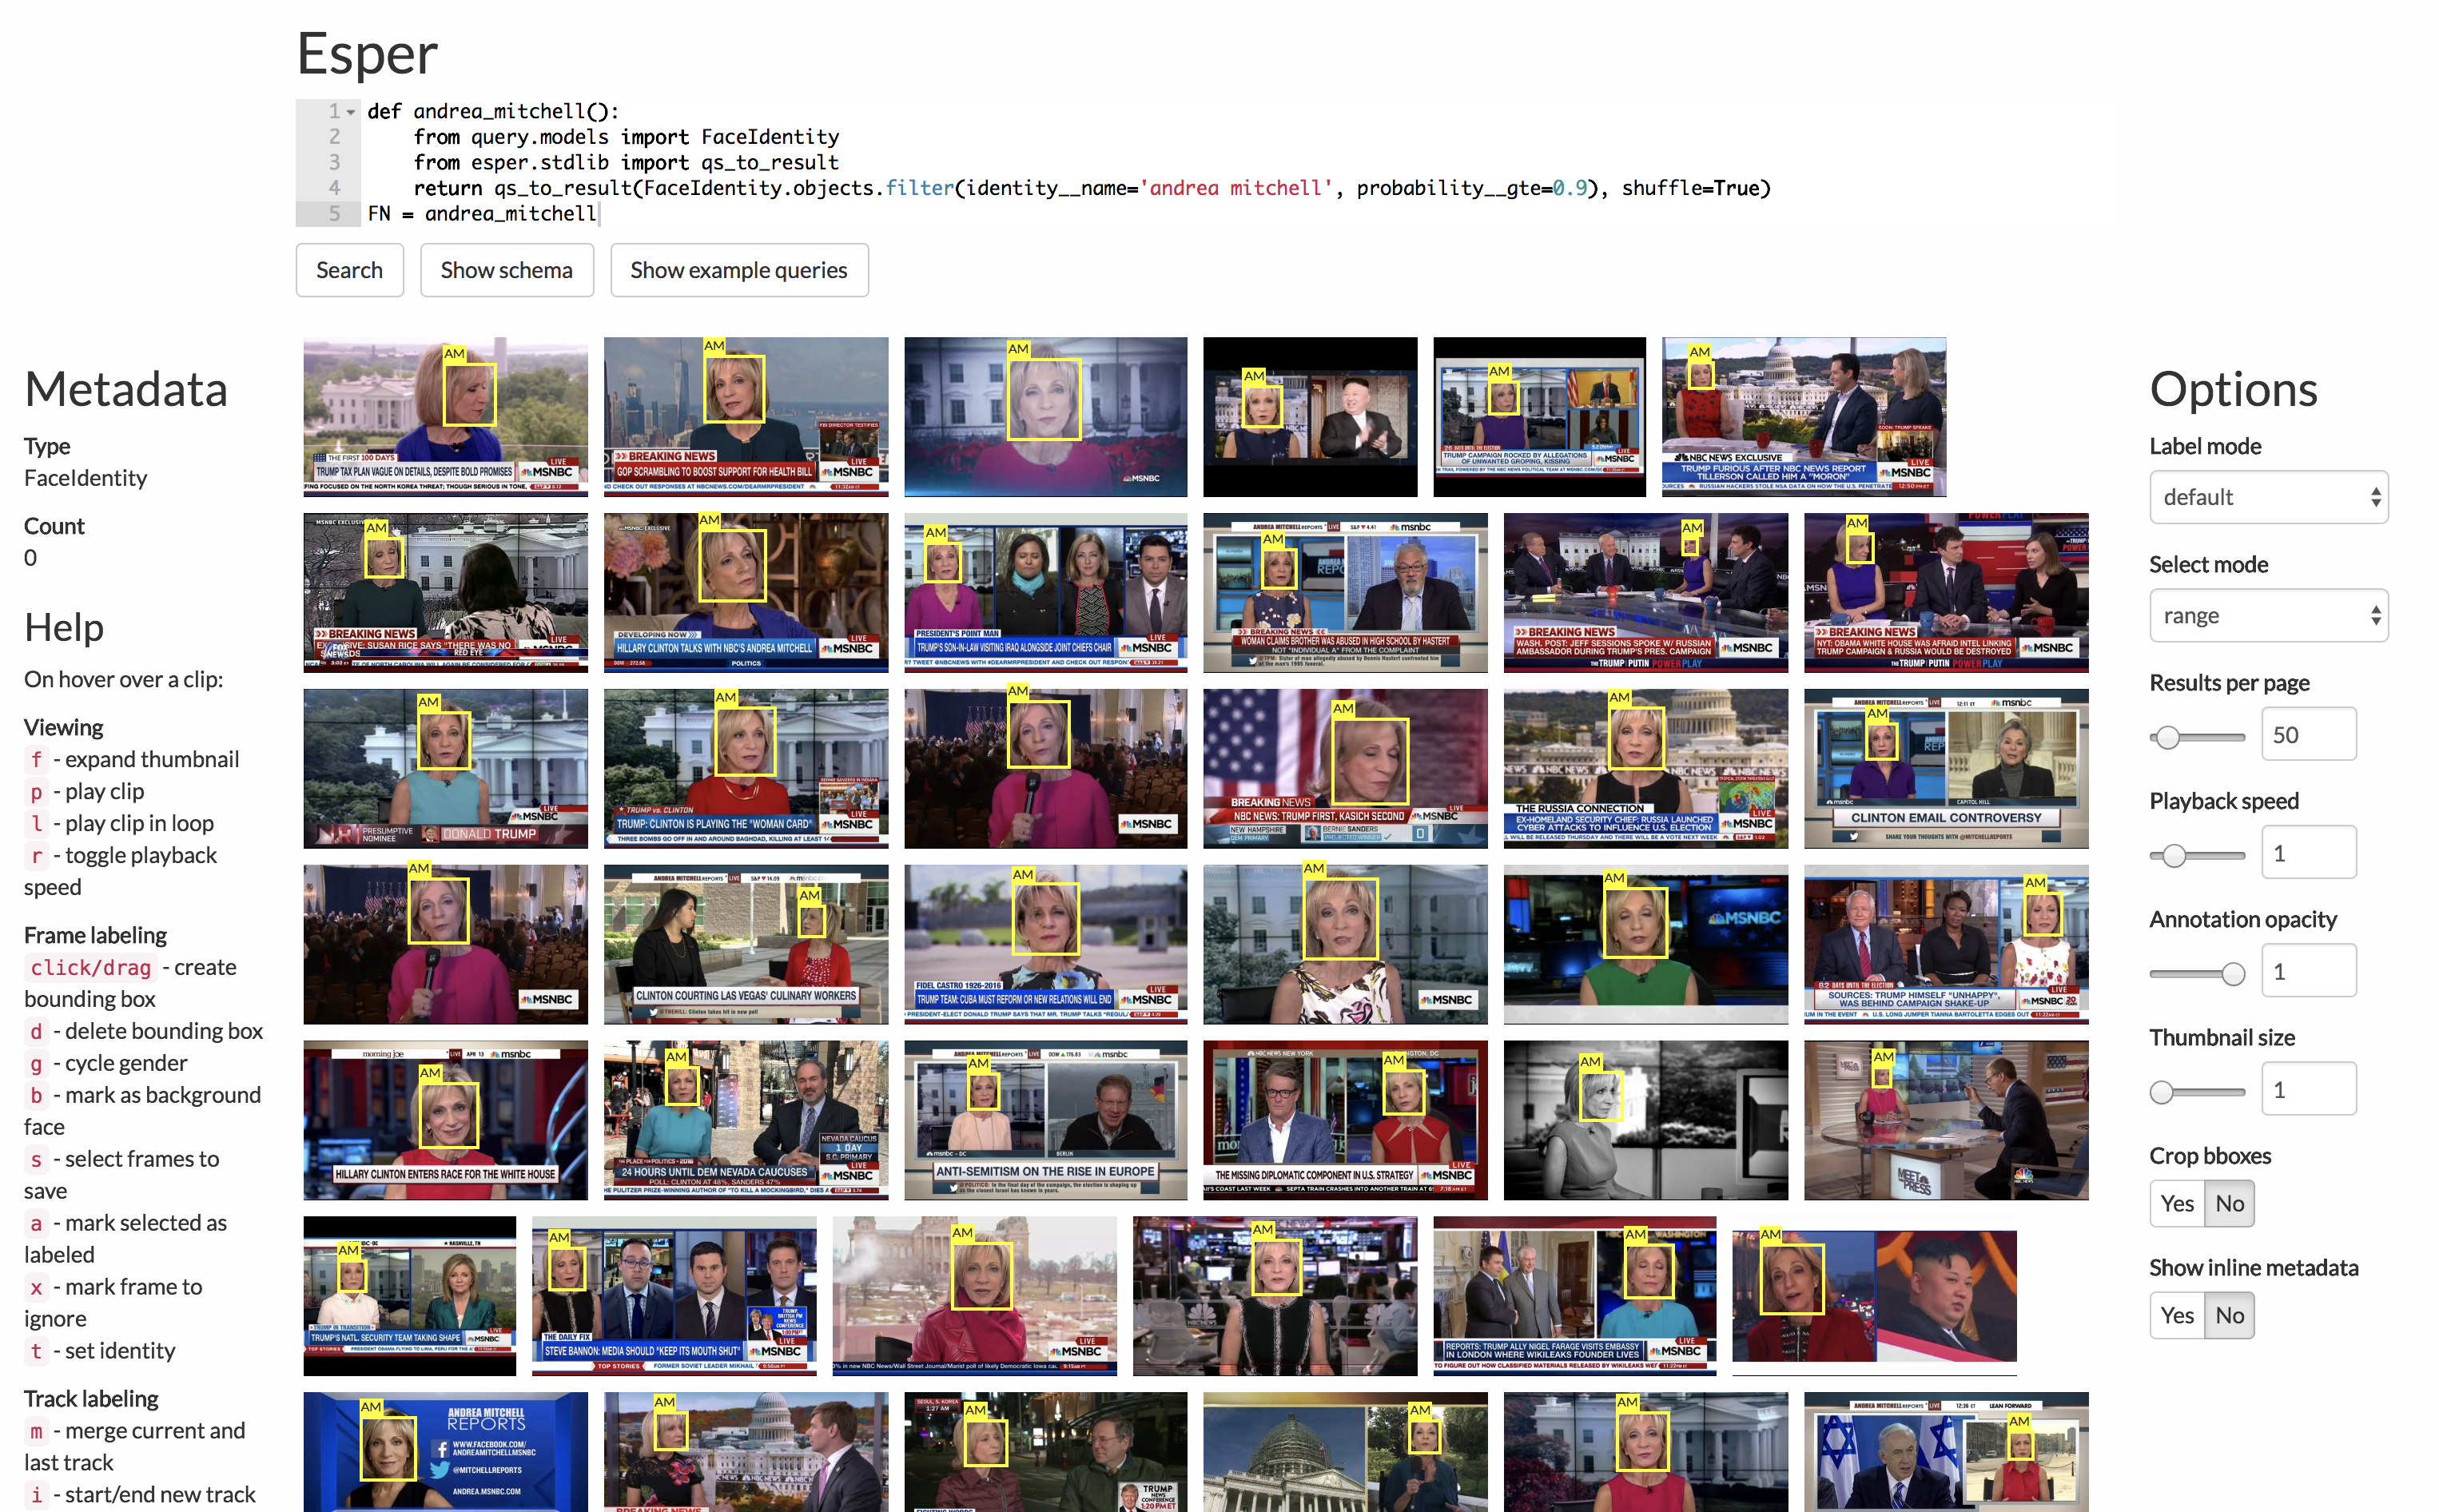
On a high level, we have a Postgres SQL database holding all the metadata (e.g. bounding boxes), a Python web server (Django) that interfaces with the database via the ORM, and an HTML/CSS/Javascript frontend that visualizes the images + metadata, talking to the web server over REST endpoints. We actually have the user write a Python program on the frontend which is exec‘d on the server to run the query to visualize (don’t do this at home, kids!).
In the course of visual inspection, we inevitably noticed some mistakes by the neural nets, so the next step for the UI was to make it interactive: allows users to fix mistakes or create gold standard data by manually drawing/correcting visual metadata.
Multi-stage interactive workflows
While the system above worked well for simple workflows like selecting random images, labeling them, and saving the labels to the database, over time our workflows became more complex. For example, let’s say we want to make a classifier for Rachel Maddow, a TV news host on MSNBC. Our current algorithm is roughly:
- Take the top 25 search results for “Rachel Maddow” from Google Images.
- Filter the results for ones that are just Rachel Maddow (our new ground truth).
- Compute the face embedding1 for each ground truth Rachel Maddow and average them all together.
- Sort all previously detected faces in the database by distance in embedding space to the averaged ground truth.
- Pick a few distance thresholds, and for each threshold, randomly sample faces at that distance (e.g. 0.5), and hand-label the number of correct/incorrect Rachel Maddow predictions.
While we initially wanted to implement this process in our web UI, the trouble is that because it’s a multi-stage interactive pipeline, we would need to persist the pipeline state across both the server and the client, synchronizing between Python and Javascript and visualizing the current stage in the pipeline for the user. We realized that what we really wanted was just a normal Jupyter notebook, except with interactive inputs in between the pipeline stages for the manual labeling. This idea lead us to an approach like this:
Essentially, we took our existing web UI and compressed it into a Jupyter widget. We added a thin layer to allow values to pass back and forth between the Python runtime and the Javascript widget, and that was it! Our new API looks roughly like:
face_list = [...]                 # Get a list of faces to display
widget = esper_widget(face_list)  # Create a Python widget to display faces
widget                            # Ask Jupyter to display the widget

### code cell boundary ###

print(widget.selected)            # Print the faces selected in the
With this API, we’ve been able to start rapidly prototyping the sort of workflows described above. The cool thing is that we’re not just prototyping purely data processing Python pipelines, but we can also capture human-in-the-loop pipelines which involve manual input.
The general case
More broadly, I think this is representative of a design process that many data scientists have encountered. In the exploration phase of data analysis, while we want to automate as much of our pipelines as possible, there’s an inevitable human component that’s hard to remove, so we should have the means to properly encapsulate that in the tools we use to create pipelines.
However, for a long time, our automation tools and our GUI tools have existed in separate worlds. While the world’s richest ecosystem for creating GUIs has flourished for web applications (HTML/CSS/JS), languages used for data processing like Python, R, etc. are left with… Tkinter? Qt? Outdated, difficult, imperative GUI toolkits from a bygone era2. Or even just the command line, using the same text-based GUI systems we’ve had for over half a century.
By contrast, the promise of Jupyter here is that it offers a language-agonstic program runtime environment that can interleave languages like Python with web GUIs. Rather than needing servers, endpoints, and a complex ecosystem of tools, the barrier to co-existence is lower than ever. Web GUI programming becomes just another tool in a programmer’s toolkit rather than a walled garden. That said, I think a lot more work needs to be done here in fleshing out this space of prototyping interactive workflows. Specifically:
-
It’s hard to move past the prototype stage. For example, when we created our Jupyter labeling pipeline as above, it works great for a single user, but if we want to then have many users concurrently labeling, it’s impossible to have multiple individuals running on the same Jupyter notebook. You have to duplicate the notebook separately for each user. Ideally, there would be some way to “freeze” a Jupyter pipeline into a standalone web page which would easily support concurrent access in the same way most modern web frameworks do.
-
The tooling is not up to par. Today, there’s a significant imbalance between widget users and widget creators—very little documentation/support exists for creating bespoke Jupyter widgets, and most searchable issues are from people trying to use the standard set of Jupyter widgets, not creating their own. Moreover, creating a widget is fairly complex and involves at least three different package managers (pip, jupyter, and npm). Simplifying this process is crucial to reducing the overhead of creating a new custom widget.
If this is a problem you’ve also run in to, or if you know of any tools that address this space, I’d love to hear about it. Just send me an email or leave a comment on Hacker News.
-
A face embedding is an array of floats that abstractly describes a face. The goal of a face embedding space is that two embeddings of different images of the same person should be closer to each other than to other people, even if the algorithm producing the embedding has never seen the input faces before. ↩
-
The web ecosystem, of course, is not perfect. Javascript is an experiment in large-scale distributed programming language design. HTML/CSS are limited and so have spawned dozens of derivative languages and templating systems (SASS, Jade, etc.) in their wake. But it’s inarguable that more time has been spent developing GUI tools for the web than any other medium. ↩